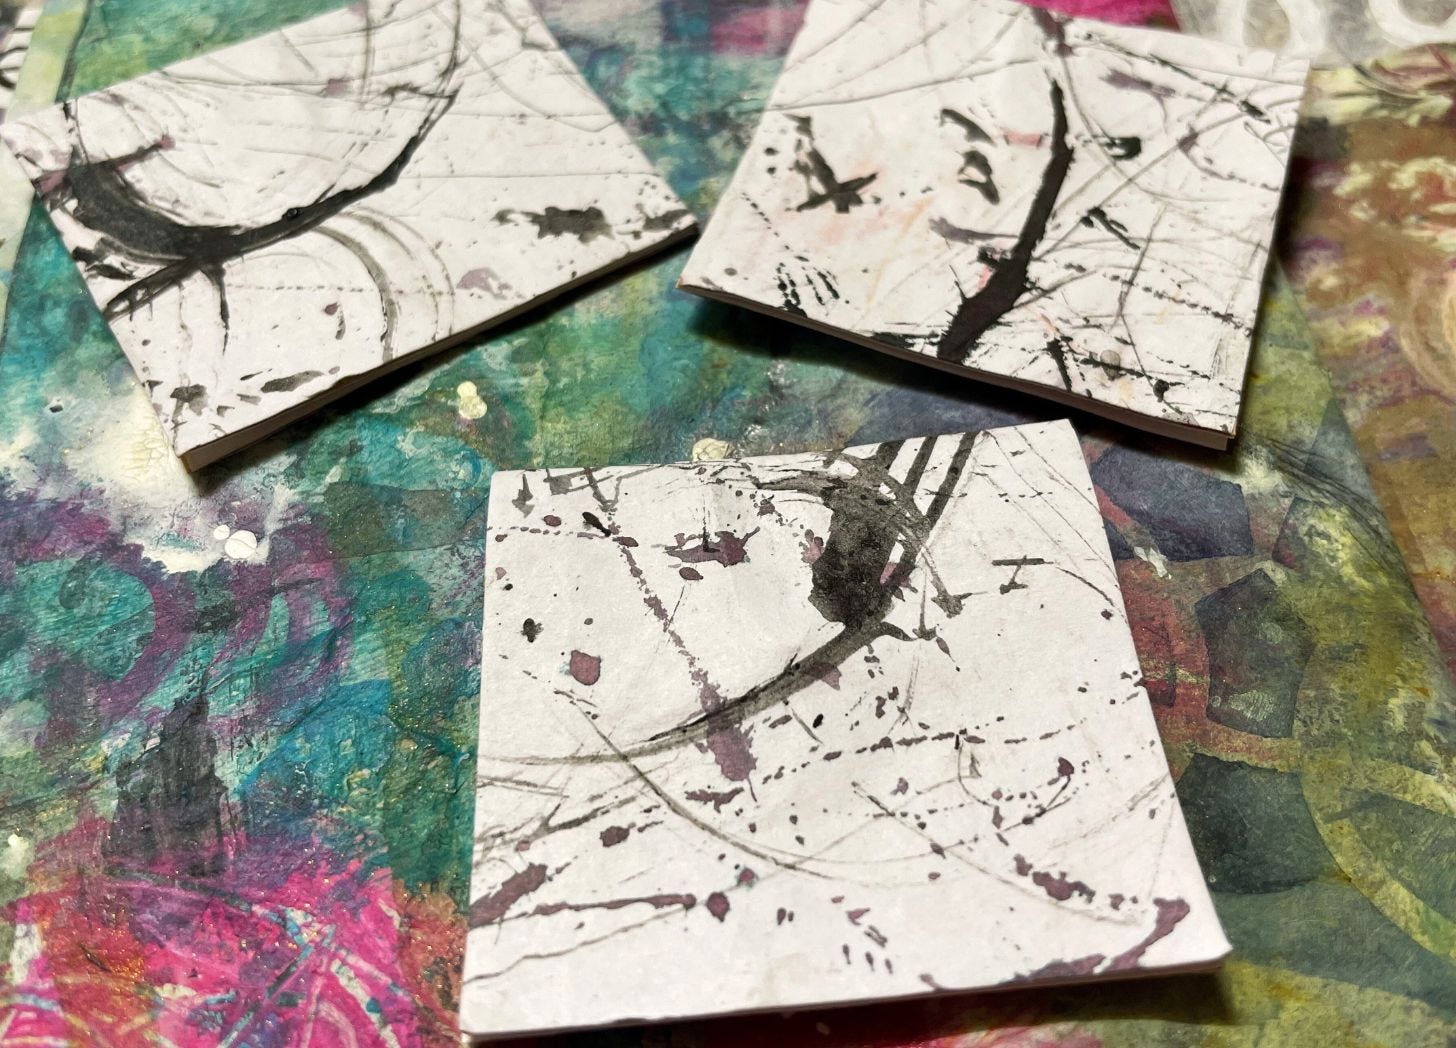
Easy, quick, usable art project
Let's make some hidden paper clip embellishments! Perfect for your planners or junk journals or...
I just made a few hidden paper clip bookmarks for my planner, and thought this would make for an easy and quick art project to share with you. So I whipped out my phone and shot a quick little tutorial for you.
Plus, it’s perfect for this time of the year — it’s quick, which makes it the perfect art project to help you unwind from all the end-of-the-year busyness. It’s also a cute little embellishment that you can use in your 2024 planners, though these hidden paper clips these can be used in many different ways!
As a bookmark
In your junk journals or art journals
As a money clip
To clip some paper ephemera together so you can journal on the go
To secure wrapping paper rolls
To hang up photographs
Hidden paper clip bookmarks: Supply list
Here’s what you need to make these paper clip bookmarks:
Paper clips {of course!}
Cardstock — don’t make it too thick. I used a stiff paper bag.
Decorative paper or collage paper — I used some black and white collage paper that I had lying around
Matt medium or PVA glue
Brown paper bag and glue stick {optional}
Receive notes on creative living, monthly sketchbook prompts, pages from my art journal, and short process videos in your inbox every Friday.
How to make hidden paper clip bookmarks
It’s super easy to make these paper clip bookmarks.
Fold your cardstock in half and then cut it into the size that you want for your paper clip. The paper clip I demonstrate in the video below is about 3.4 cm by 4.5 cm. So the cardstock, when I started, would have been a bit bigger — about 3.6 cm by 9 cm {9 cm folded in half is about 4.5 cm}.
Slide the paper clip on the fold and in the center of your piece of cardstock.
Cut a piece of decorative paper or collage paper to the same size as your cardstock.
The paper clip I used had a slightly upward curving edge, so I backed my collage paper on some brown wrapping paper with a glue stick to give it a bit more strength and body.
Next, fold the decorative paper in half. Generously coat with matt medium or white PVA glue {e.g. Elmer’s} and stick it firmly on the cardstock.
Trim off any unsightly edges, let the glue dry, and it’s done!
Here’s a short video of the entire process.
And there you have it! Use these in your planners, junk journals, or as bookmarks! I hope you enjoy this little project in the midst of all your end of the year shenanigans!
Wish you and yours a very happy holiday season and a lovely new year. I’ll see you back here next year!
xx
Shinjini
Enjoyed this project? Share it with your friends and invite them into our virtual studio. There’s space for all of us here! If you’re on the Substack app, consider restacking this post to Notes.


What a cute idea for a little art project!!!
I love this! I am not a fan of paperclips, but they're often needed. This is perfect!